
What to Do After a Burst Pipe in 9 Steps
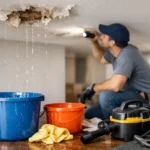
A burst pipe can release a surprising amount of water in only a few minutes. Knowing what to do after a burst pipe helps you limit the damage, protect the people in the building, and give the restoration process the best possible start. The priority is not making the space look dry. It is stopping the source, removing water safely, and drying the structure before moisture becomes a mould or material-damage problem.
What to Do After a Burst Pipe: Act in This Order
1. Shut off the water immediately
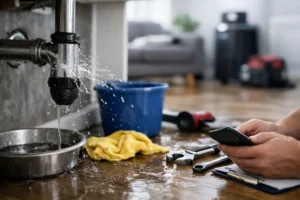
Turn off the nearest shutoff valve if the burst pipe serves a sink, toilet, appliance, or individual fixture. If water is moving quickly, you cannot find the local valve, or several areas are affected, shut off the property’s main water supply. In many homes, the main shutoff is near the water meter, where the water line enters the basement, or in a utility room.
Do not spend too long searching while water continues to spread. A plumber can repair the pipe, but every minute of flowing water can soak flooring, insulation, drywall, cabinetry, and belongings. Once the water is off, open a cold-water faucet at the lowest point in the home to help relieve pressure in the plumbing lines.
If the pipe burst during freezing weather, keep the property heated if it is safe to do so. Turning the heat off can create a second frozen-pipe problem elsewhere in the building.
2. Put electrical safety ahead of cleanup
Water and electricity are a dangerous combination. Avoid walking through standing water if electrical outlets, extension cords, appliances, or the electrical panel may be affected. Do not touch a wet electrical panel or attempt to turn off breakers while standing in water.
If you can safely access the main electrical panel from a dry area, turn off power to the affected section of the property. If there is any doubt, leave the area and call for qualified help. This is especially important after a ceiling leak, where water may have travelled through light fixtures or inside walls.
Keep children, tenants, customers, and pets away from the affected space. A sagging or bulging ceiling is also a warning sign. It may be holding a significant amount of water and could collapse without warning.
3. Call for emergency plumbing and water damage help
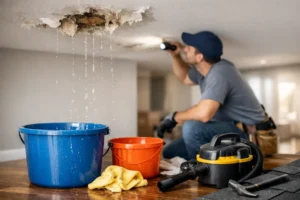
The pipe needs to be repaired, but repair alone does not resolve the property damage. Water can travel beneath floors, behind baseboards, into wall cavities, and through ceilings well beyond the visible wet area. Calling an emergency restoration team promptly gives you a clear plan for extraction, drying, disinfection, documentation, and repairs.
For GTA property owners and managers, Restoration Canada provides 24/7 emergency flood response and can take control of the full recovery process, from water removal through to finished repairs. Fast attendance matters because the first 24 to 48 hours are often critical for reducing swelling, odours, mould growth, and unnecessary demolition.
If you manage a commercial property, notify building operations or your emergency contact at the same time. A burst pipe may affect neighbouring suites, electrical rooms, stock, equipment, elevators, or common areas, even when the initial leak appears contained.
4. Take photos and video before moving too much
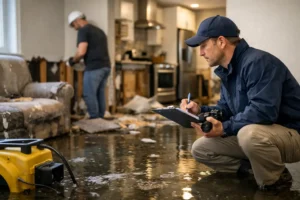
Once the water source is shut off and the area is safe to enter, document the damage. Take wide photos of each affected room, then closer images of the burst pipe, wet floors, damaged ceilings, furniture, electronics, and personal contents. A short video can show the extent of standing water and the path it took through the property.
This record can support an insurance claim and help the restoration team understand what happened before emergency extraction begins. Keep damaged items where they are until they have been photographed, unless they are creating a safety risk or can be moved quickly to prevent further loss.
Write down the approximate time you discovered the burst pipe, when the water was shut off, and any steps you took. Details such as these can be useful when speaking with your insurer, condominium corporation, landlord, or property manager.
5. Notify the right people
Homeowners should contact their insurance provider as soon as practical after the emergency has been stabilized. Ask for a claim number and confirm what information they need. Many policies cover sudden and accidental water damage, but coverage can depend on the cause of the burst pipe, the area affected, maintenance history, and the policy itself.
Condominium residents should notify their property manager or concierge right away, even if the leak appears to be within their unit. Water can travel into suites below, and responsibility may be shared between the unit owner, the condominium corporation, and their respective insurers. Renters should contact their landlord or property manager promptly and notify their tenant insurer about damaged contents.
For businesses, communicate early with your insurer and key stakeholders. Clear updates can help you protect inventory, arrange temporary operations, and reassure tenants or employees that the situation is being actively managed.
6. Remove standing water only when it is safe
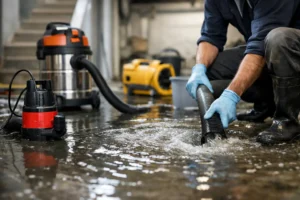
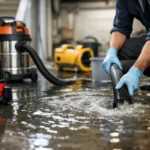
Small amounts of clean water on a hard floor may be mopped up with towels, but avoid relying on household methods for a significant flood. Standard shop vacuums, fans, and towels cannot confirm whether moisture remains beneath flooring or behind walls. They can also spread contamination if the water has contacted dirty surfaces or sewage.
Move lightweight belongings, loose area rugs, and furniture away from wet areas if you can do so safely. Place aluminium foil, plastic blocks, or wood supports beneath furniture legs to reduce staining and wicking. Do not drag heavy furniture across saturated flooring, and do not lift waterlogged carpets without help. They become extremely heavy and can damage the backing, flooring, or your back.
Avoid using a household vacuum on water. Do not use a fan if the water may be contaminated, and do not turn on your HVAC system if water has entered ducts or mechanical equipment. Professional extraction and controlled drying equipment are designed to remove water without creating further problems.
7. Protect contents, but do not throw everything away
Wet paper, fabrics, electronics, wood furniture, and upholstered items all need different handling. Separate dry belongings from wet ones where possible, but do not assume every damp item is beyond saving. Contents restoration specialists may be able to clean, dry, deodorize, or restore valuables that look badly affected at first glance.
Keep a simple inventory of damaged belongings, including brand names, serial numbers, and approximate purchase dates when available. For commercial losses, document affected stock, tools, files, computers, and equipment before disposal. Your insurer may need to review certain items, so wait for direction before discarding major contents unless they present a health or safety concern.
8. Make sure the building is professionally dried
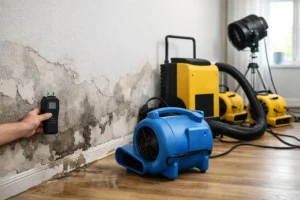
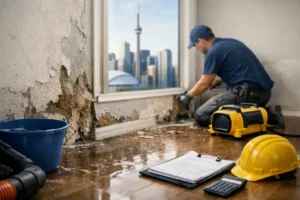
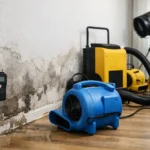
Visible water is only part of the loss. Materials such as drywall, insulation, subflooring, engineered hardwood, and cabinetry can retain moisture long after surfaces feel dry. Professional restoration crews use moisture meters, thermal imaging where appropriate, industrial air movers, dehumidifiers, and targeted removal of unsalvageable materials to dry the assembly properly.
This is where cutting corners can become expensive. Leaving damp materials in place may lead to warped floors, crumbling drywall, lingering odours, and mould growth. On the other hand, not every wet wall or floor needs to be removed. The right approach depends on how long the water was present, the type of material, the water category, and measured moisture levels.
If water has been sitting for more than a day, has passed through multiple building materials, or has mixed with sewage or other contaminants, professional assessment becomes even more urgent. Contaminated water requires more than drying. It requires proper cleaning, disinfection, and safe removal of affected porous materials.
9. Plan repairs after mitigation is complete
Emergency mitigation stops the damage from getting worse. Restoration returns the property to a safe, finished condition. After drying is verified, the work may include insulation and drywall replacement, flooring repairs, painting, trim work, cabinetry repairs, ceiling restoration, and rebuilding affected areas.
Ask for clear communication about what has been found, what needs immediate removal, what can be saved, and what repairs will follow. For insurance-supported work, organized documentation and direct insurance billing can reduce some of the administrative pressure while you focus on your household, tenants, or business operations.
Prevent the Next Burst Pipe
After the emergency is under control, ask why the pipe failed. Freezing temperatures, deteriorated plumbing, high water pressure, corrosion, poor insulation, failed appliance hoses, and unheated areas are common causes. The repair should address the failure itself, not simply patch the visible break.
Before the next cold snap, insulate vulnerable pipes, seal drafts near plumbing, keep indoor temperatures consistent, and know where the main water shutoff is located. If a property will be vacant, follow insurer requirements for heating and regular checks. A few preventative measures can make a major difference, particularly in basements, crawl spaces, garages, exterior walls, and vacant commercial units.
A burst pipe is disruptive, but you do not have to manage every decision alone. Stop the water, stay clear of electrical hazards, document what you can, and get qualified help on site quickly. The sooner the property is properly dried and assessed, the sooner you can move from emergency response to getting the space back on its feet.